An analysis of how caps are returning as a versatile fashion accessory in 2025, with style tips for both men and women across different outfits and occasions.
The following is a guest post from my bloggy friend Taylor McKnight on behalf of Cap America. Interested in having a guest post on my website? Click here for my guest post submission form.
Cap Comeback: How Headwear is Redefining Fashion in 2025
The use of caps has been labeled as a fad and will come back into vogue in the next few years. There is an increase in popularity for caps because boys and girls wear them with their downtime outfits, especially during the summer months. The style also follows the same lines as hats or other headgear that many people wear nowadays, such as beanies, helmets, ski masks, etc. The use of caps has become more popular because they are now being worn by Asians, Hispanic/Latino, and other ethnicities across the country.
They obviously also give the sporty appearance while being relaxed and the “don’t try too hard” vibe. The caps that are trending in the next few years are ones that people can wear to school or in their everyday lives in an easy way. After seeing how people react in the news when they wear a cap in public, it has become something that has sparked a massive increase of interest in the trend.
How to Wear a Cap
The normal way to wear a cap is to pass the headband through one of the loops located on the underside of the cap. The other method is to fold over the top of the headband and then secure it into place. Some people wear their caps backward so that they can see their facial features better while others wear them so that others cannot see them. Some people wear their caps higher than other viewers can because it shows how much they value their privacy.
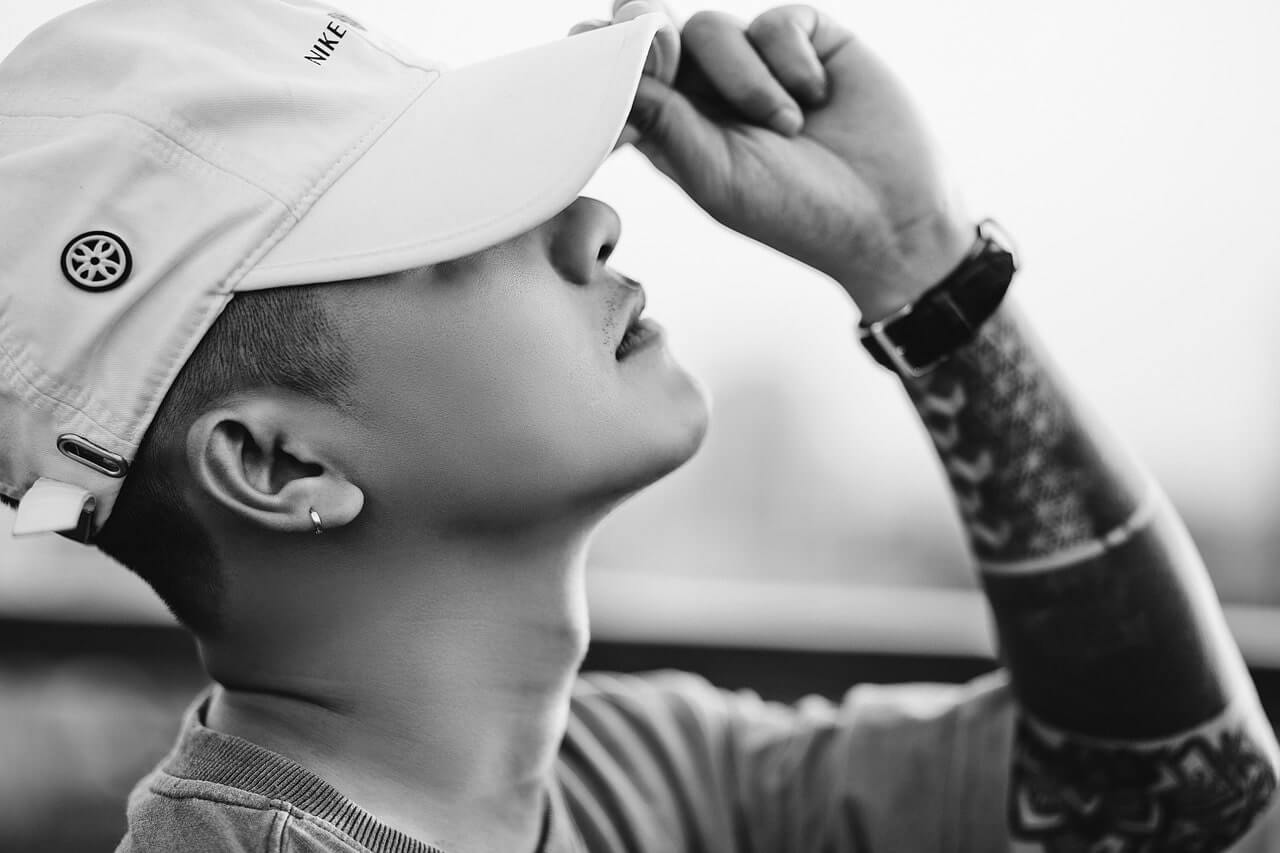
How a Man Can Wear a Cap and Keep It Classy
Caps are usually meant to be worn casually, but if a man wants to keep it classy while wearing a cap he can wear it in a way that shows his personality and his style. A man who is wearing a cap in the right way can wear it with an outfit that is casual but shows some sort of class. A cap can add elegance to any outfit that is worn with it. Nice clothes go well with caps, but try to avoid mixing them with suits and dress clothing. Many men will wear a cap that correlates colors to the overall outfit he is wearing.
Wearing a cap with a sport shirt and dark denim jeans is considered to be the ultimate style for men. A man can also sport his caps with white or grey dress shoes or an elegant pair of leather shoes. Wearing the right outfit will make anyone look good, but wearing a cap with an outfit that is not right for it will make someone look silly and unprofessional. Dress up your casual outfits and don’t wear them with capris or sweats.
Some men even wear caps temporarily as a sort of reinforcement for their hair. This is usually what men with extremely fluffy or curly hair do to make their hair lay flatter or give a more tame appearance. However, when it does come to this route it definitely is dependent upon the individual and not as common as the other fashionable trends for men.
What a Woman Can Wear With a Cap and Different Styling Options
If a woman wants to wear a cap, it is usually because she wants to cover her head from the sun or have a more relaxed but sporty look. Caps are usually worn as a hat or as an accessory. A woman can wear her cap as a hat by placing it on top of her head without folding the hatband.
A woman who is wearing a hat in the right way can also keep it stylish and elegant. A woman’s hat is usually seen over her ears, so it can be styled in a number of ways. The most common style for hats for a woman is to wear a cap with the band pulled over the eyes. Doing this does not give you access to your vision but makes you look stylish and sophisticated, while also blocking out the Sun on a bright day.
Wearing a cap with an expressive outfit is also something that many women enjoy doing. If a woman puts her heart into choosing her outfit, she can look good while wearing it with a cap. It is a good idea to wear a cap to a party, a dinner date, or any other formal event. For a woman who wants to look stylish and free-spirited, there are also plenty of options for clothes that have an interesting pattern or design made specifically for caps.
In recent years there have even been a trend of trucker caps where people are purchasing the larger bulkier headwear. This is usually accompanied with all types of accessories, such as letters, images, shapes, etc. It will depend upon the individuals style but when it comes to this you really have the opportunity to make your cap as unique and uncommon as you would like.
The Advantages and Benefits of Wearing Caps
Wearing caps has become an extra step to one’s outfit, but it is actually more than that. Caps serve many different purposes. Caps are worn for fashion, warmth, sun protection, and even to cover up one’s hair. There are people who wear earpieces or headphones underneath their caps which helps them listen to music without having the product visible to everyone else and giving them an extra sheet of security.